How to: Deploying a Synology VAAI Plugin

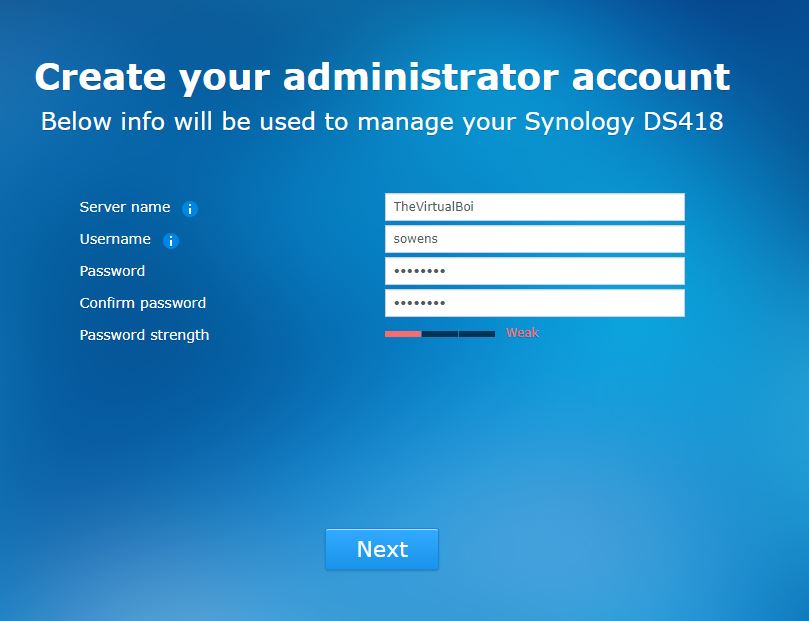
In an earlier post, I posted how users can quickly deploy a Synology Diskstation.

One of the things many people like to do with a Synology Disktation within a VMware Homelab environment (or production) is install the Synology VAAI VIB for hardware acceleration. In order to take advantage of this, your Synology will need to be added to your VMware environment as a target and be available as an Datastore to use. Installing this VIB allows for increased performance and better throughput via hardware acceleration with offload to the Synology CPU/RAM/CACHE.

Step 1: Download the VIB.

Step 2: Use a program SCP or in my instance, WINSCP to connect to you host. If you are using Windows and need WINCP, you can download it here. Extract the VIB and upload the VIB to the /tmp/ directory of your ESXi Host. You will need to use the credentials that are for the root account on your ESXi host.

Step 3: Enable SSH on the ESXi Host and run the following command:

esxcli software vib install -v /tmp/synology-nfs-vaai-plugin-1.2.1008.vib --no-sig-check

Step 4: Ensure the command ran successfully.

Step 5: Head to the Synology Datastore/Configure then look for the word Hardware Acceleration. Look for the “Supported” word, which means it is now enabled and working with hardware acceleration as intended.

First Head over to the /tmp/ directory using WinSCP (Windows).
Ensure you see the Extracted VIB within the /tmp/ directory.
The Plugin is selected for demonstration purposes.
Next, SSH into you ESXi host and run the following command.

esxcli software vib install -v /tmp/synology-nfs-vaai-plugin-1.2.1008.vib --no-sig-check

You can now see that Hardware Acceleration is supported.

How to: Deploying a Synology Diskstation DS418

Earlier this year, I debated on the idea of getting a Synology DiskStation for Home Lab use. The use case would be to have shared storage for my VMware environment. Additionally, having a local NAS at home would allow for flexibility to have mapped network drives on the workstations throughout the house. This, along with being able to scan to PDF and store on the NAS made the decision a no brainer!

There are two main players in the entry level NAS market. QNAP and Synology. I decided to go with the Synology due to the feature set of the DSM software.

In this quick blog will show how to do the initial setup of the Diskstation.

The BoM for this build is below

  1. DiskStation Synology 4 Bay NAS DiskStation DS418 (Diskless)
  2. WD Red 4TB NAS Internal Hard Drive – 5400 RPM Class, SATA 6 Gb/s, 256 MB Cache, 3.5″ – WD40EFAX

I decided to go with the 4 bay for future expansion. I started out with just two drives, but plan to go to 4 drives later.

Note: There are some issues with these drives it appears when researching online. I personally haven’t had any data loss, but be sure to research your drives before purchasing.

DiskStation1
First: Pop in your drives and power on the device. Go to a web browser and go use either find.synology.com or diskstation:5000. The Web portal will then launch and search for a DiskStation within the local network. Note: The DiskStation status should be that of Not Installed.
DiskStation2
Accept the EULA.
DiskStation3
Select Setup.
DiskStation4
Next, select Install DiskStation Manager (DSM). Alternatively, you can download the latest version manually and select manual install.
DiskStation5
Since the Hard Drives were previously installed before boot up, the Synology Web Assistant will see these drives and import them. Note: Any Data (if not new drives) will be lost! I used the default RAID configuration of Synology SHR.
DiskStation6
Next the DSM will now install.
DiskStation7
The progress bar will continue as the DSM software is installed.
DiskStation8
Next, create a server name, username, password, etc.
DiskStation9
Finally, once the DSM software has been installed you will have an option to Setup QuickConnect.

Once DSM is installed successfully, you will be able to hit the IP of the Synology in a web browser and login successfully. From there you can install plugins, create shared folders using CIFS or NFS, etc.

I would highly recommend a Synology for anyone who takes setting up a HomeLab seriously. It is a large investment, but the ease of use, options and software make the investment worthwhile. Additionally, you can also use Hardware Acceleration for VMware Homelabs on certain models. Check back for a How To with regards to Hardware Acceleration.

How To: Upgrading to vSphere 7

Understanding the Upgrade Process

Since vSphere 7 has been out for a while, I figured it would be good to do a quick blog post on how to upgrade vSphere. I was currently running 6.7, and wanted to check out the process of upgrading using my existing VCSA. This upgrade is not like typical upgrades where you download a package and upgrade the software using the existing installation; rather, the VCSA process is a bit different in that each “upgrade” is a new deployment of the VCSA, and a migration of the data from the existing VCSA to the newly deployed VCSA. Fortunately, VMWare has made this process extremely easy. I have found this process to be very reliable as well. In essence, a new VM is deployed and a new VCSA is provisioned on using another IP. Then everything is migrated and the original VCSA is powered down. That’s pretty much it. Now, lets take a moment and see how the process unfolds step by step.

Continue reading “How To: Upgrading to vSphere 7”

vSphere/vSAN Encryption: Virtual Machine Locked Alarm

Previously I deployed a KMS solution within my VMware Home Lab. Everything was working great until I accidentally powered off my entire Home Lab. When I did this several of my VMs were locked, even though I had powered everything back up, and my KMS was up and running.  This proved to be a very good learning experience since I was able to learn a lot during my resolution of the issue.

Continue reading “vSphere/vSAN Encryption: Virtual Machine Locked Alarm”

How to: Protecting Workloads with PowerProtect

In a previous blog post, I stated how to deploy DellEMC PowerProtect. However, once PowerProtect is deployed you must add a workload in order to start protecting data. In this blog post, I will show you the steps required in order to protect VM workloads within VMware.

Continue reading “How to: Protecting Workloads with PowerProtect”

How to: Deploying DellEMC PowerProtect

PowerProtect is a Software defined data management software from DellEMC. It comes in two different variants, a hardware appliance with storage and a Virtual edition. The Virtual Edition must be pointed to a Data Domain. This software has been written from the ground up, and mainly competes against Rubrik and Cohesity. PowerProtect uses protection policies to protect assets. This software has been written from the ground up, and appears to have address a lot of the shortcomings that newer backup vendors poke DellEMC for. Personally (my open unofficial opinion), I believe this solution will eventually replace traditional Avamar/Data Domain/IDPA.

Continue reading “How to: Deploying DellEMC PowerProtect”

How to: Enabling vSphere/vSAN Encryption

How to: Enabling vSphere/vSAN Encryption

Previously, I wrote a blog post on how to configure vSAN/vSphere encryption. This was just the first step of a two step process. The first step, as previously stated, was how to deploy and configure the KMS Keystore. Without the KMS Keystore, encryption can’t occur. However once that is deployed, enabling vSphere/vSAN encryption is as simple as toggling a switch! Check out this post before proceeding.

Continue reading “How to: Enabling vSphere/vSAN Encryption”

How to: Configuring vSphere/vSAN Encryption

How to: Configuring vSphere/vSAN Encryption

Encryption: One word that means a lot of different things. Often times it is not understood.  Within the last few years, encryption has become not only more prevalent, but required in some instances.  There are several different types of encryption: At rest, in flight, etc.

Continue reading “How to: Configuring vSphere/vSAN Encryption”

How to: Installing VMware Skyline

What’s Skyline?

I’ve had a few people ask me about VMware Skyline, so I thought it would be a good bit to blog on. So, with that said, what is VMware Skyline? Accordingly to VMware Skyline Documentation, VMware Skyline is a proactive support service that provides recommendations for not only vSphere, but NSX, vSAN, vRealize Operations and Horizon.

Continue reading “How to: Installing VMware Skyline”